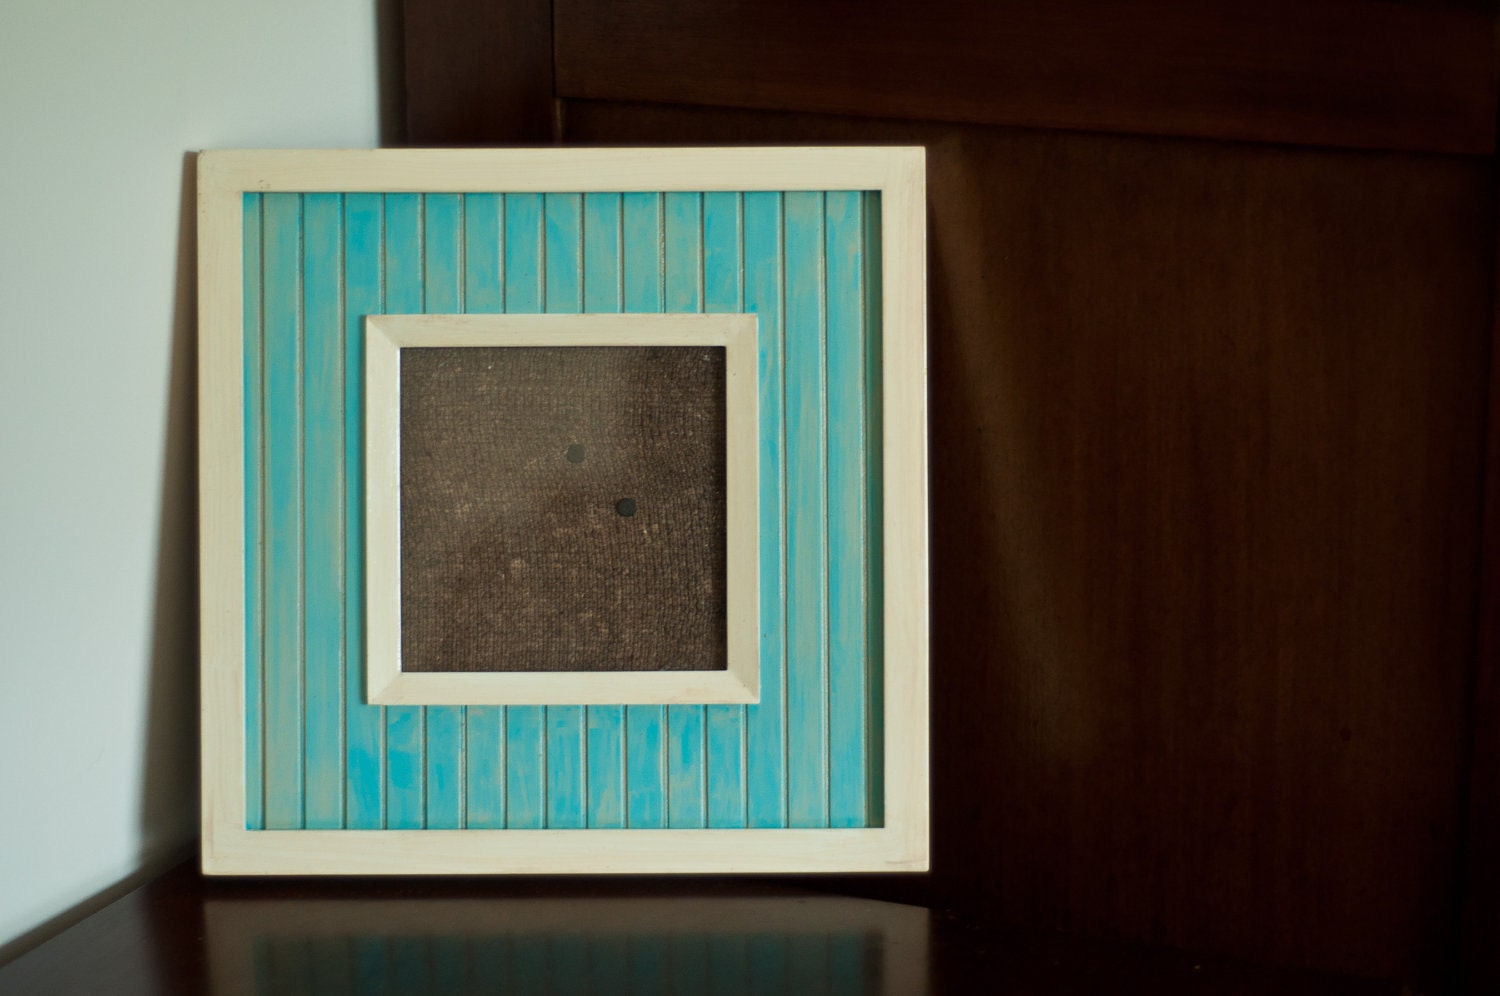
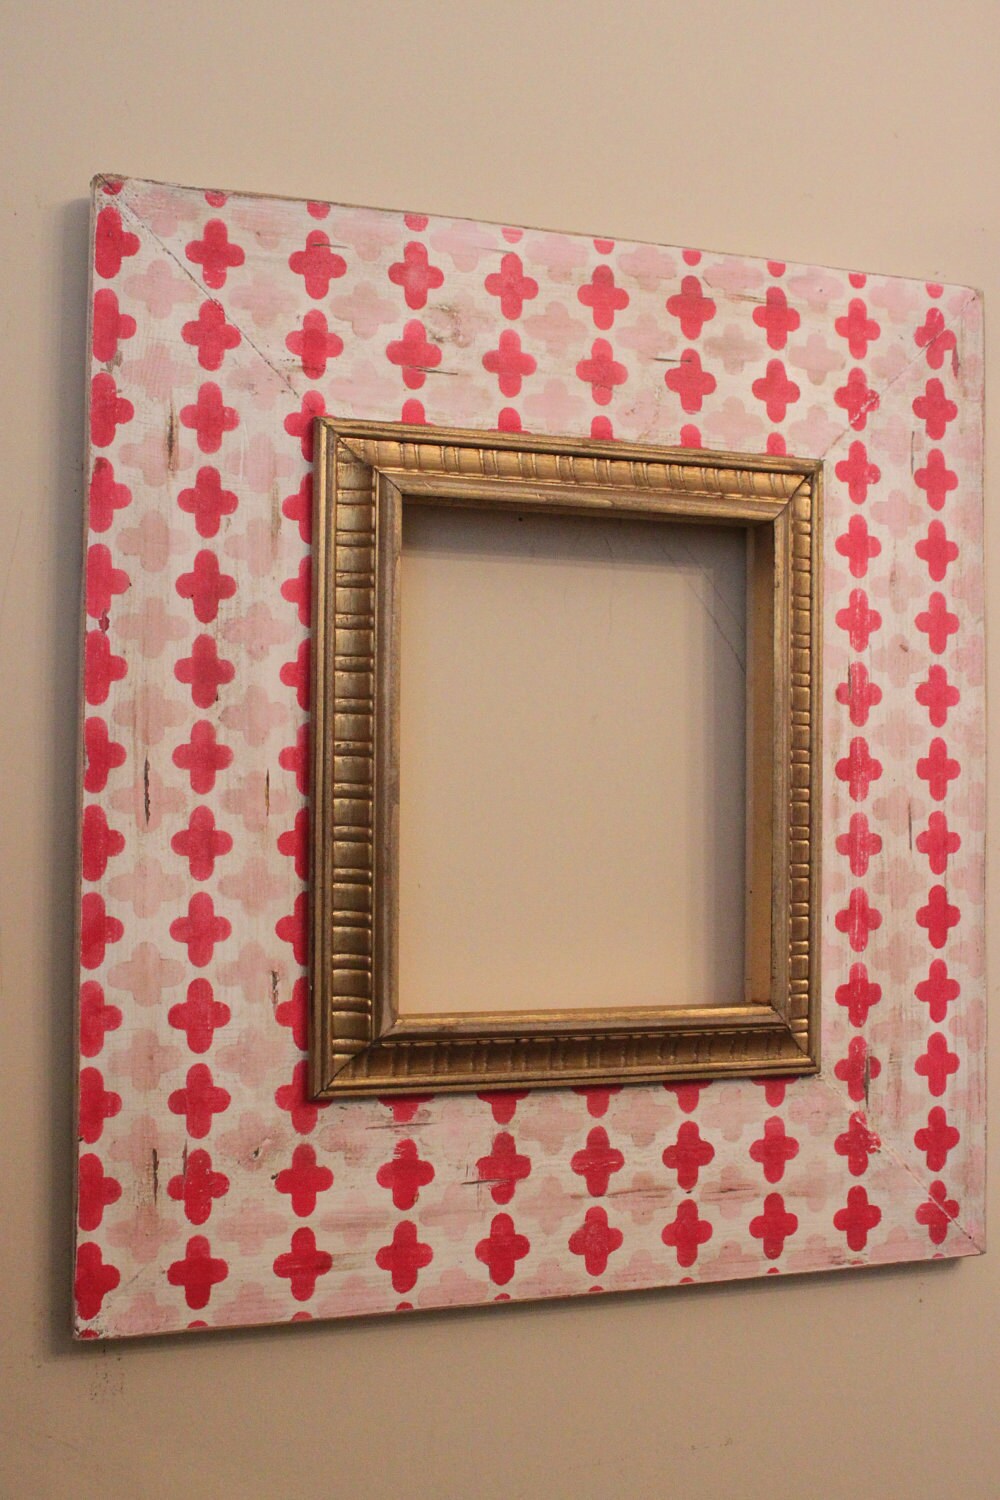
The frame of the day is an inexpensive set of frames for $25 that will go nicely with the foto of the day! This is my best friend Claire and her husband Dan enjoying an afternoon over memerial day weekend in LA for their cousins wedding! Can't wait for them to come down to the beach!
Thursday, May 31, 2012
Map it!
I wanted to share this awesome project my Mom has been working on as a gift for my father. We found this faux rattan tray coffee table on Wayfair for under $100. I'd leave the link but they are no longer selling it.
The idea was to take a nautical map of where my father grew up and cut it to fit into the tray. Check out the results prior to an apoxie finish!
Not only is this a great table for the beach house but it holds personal memories that will be a great conversation piece in the living room!
Wednesday, May 30, 2012
Love This!
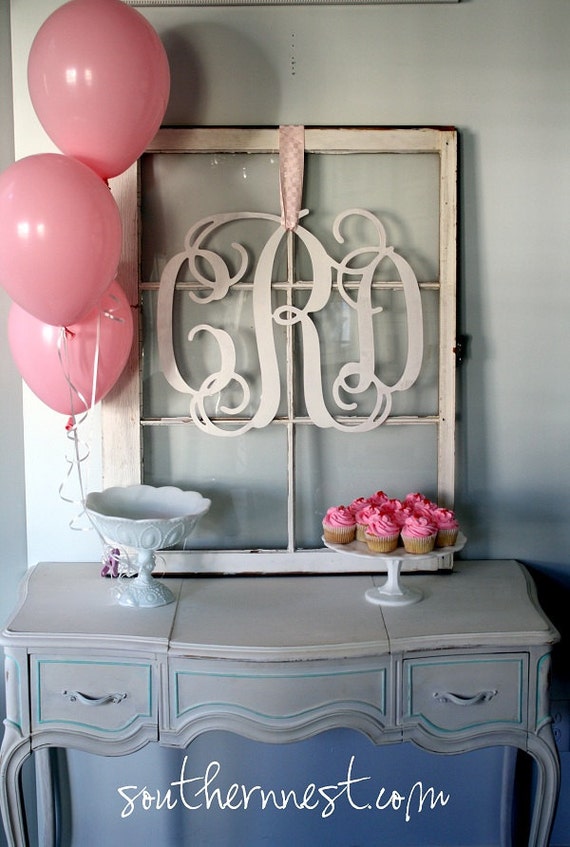
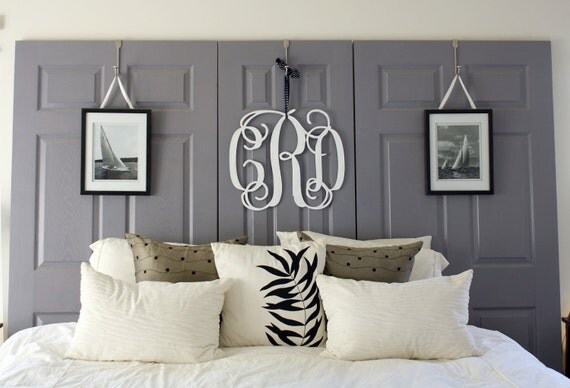
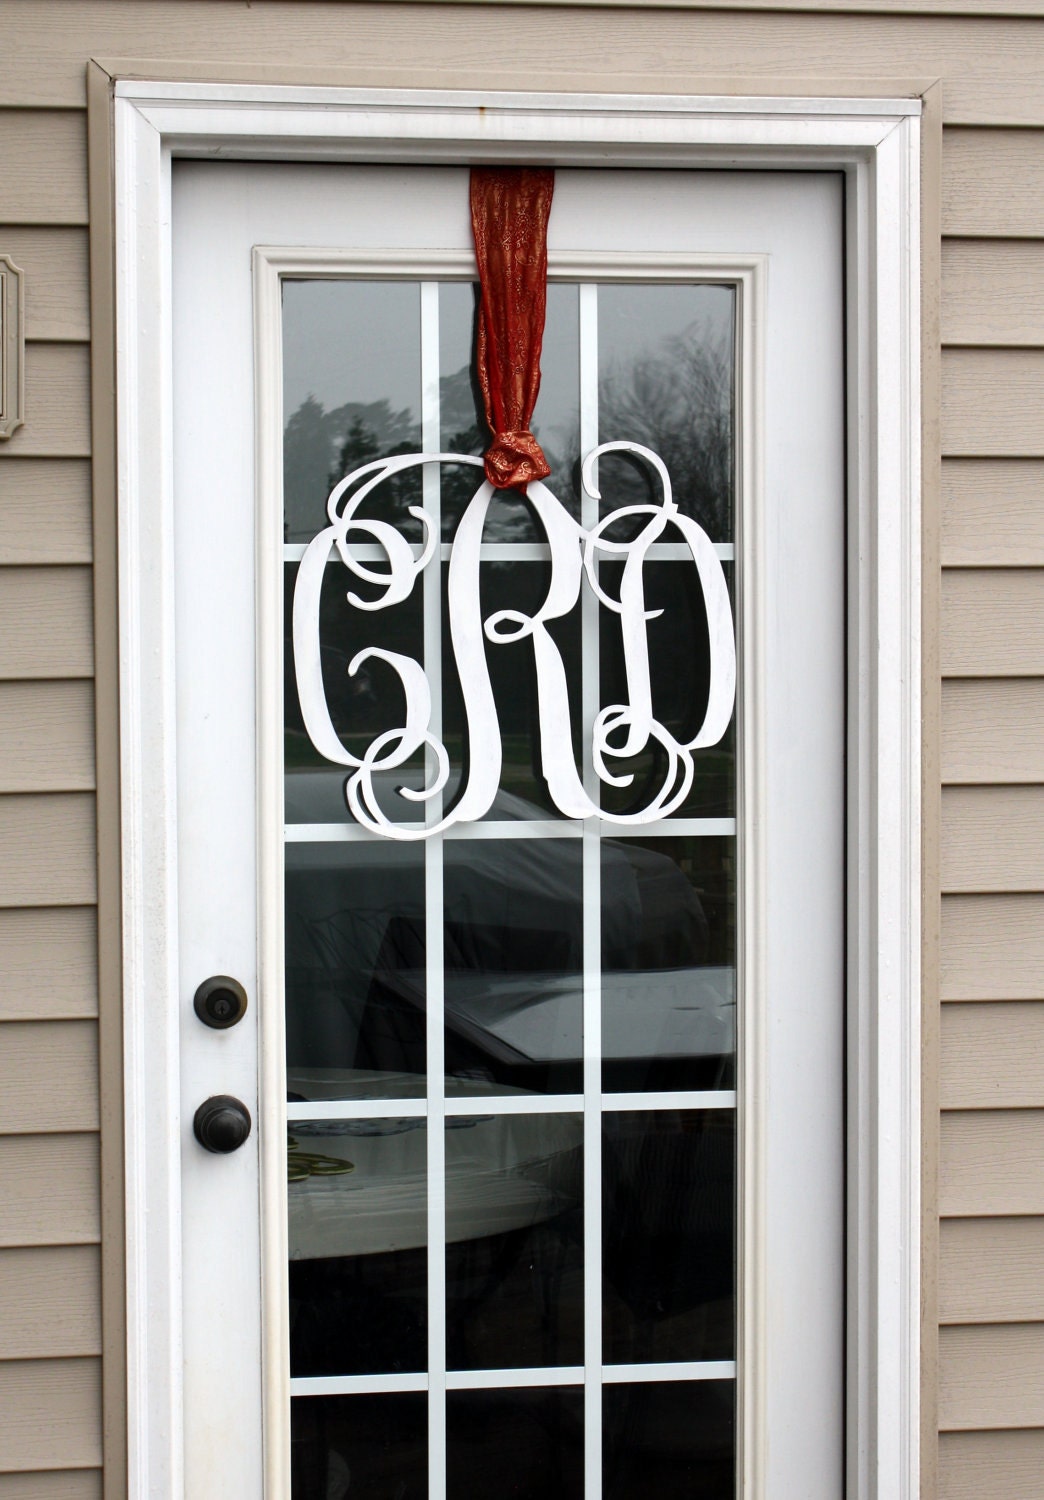
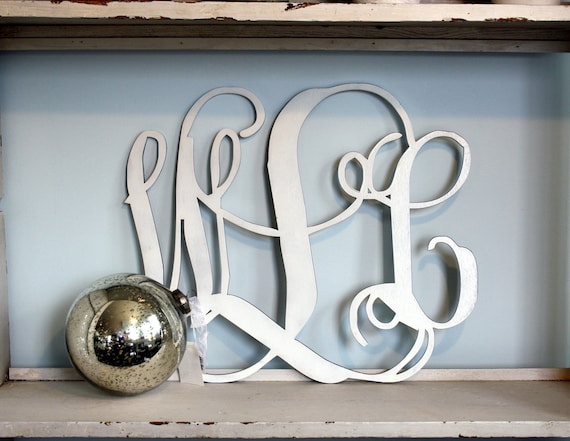
Growing up with a Mother who owned her own monogramming business has probably pushed me more then others to love and want everything monogrammed! I saw this yesterday over at Pinterest which led me to this Etsy shop...This is a must have for me and would be so cute to incorporate into a party or your home!
Tuesday, May 29, 2012
Weekend Wrapup...MD hits DE!
As Memorial Day was approaching I was so excited to hang at the beach and relax! We accomplished that this past weekend with friends and family at my parents house in Lewes, DE.
From walks down the beach to cold beers to roof top sunsets to boat rides down the canal to college lax I had an awesome time!
Check out some pics!
on the beach
Here is Gib and Patrick playing away
the boys working hard
relaxing on the boat
here is Nevi, Matt, and Gib friends of ours for many many years...we were happy to have them down for the weekend!
Michaella, Patrick's girlfriend, and I hanging out on our cocktail cruise
Here is Nev, Gib, and Molly (my sis)
Gib's MD outfit rocks!
Boy and Matt enjoying some cold ones on the rooftop
Boy and I
Matt rocking his MD gear!
Grotto YUM!
Loyola (my alma mater) winning for the first time the NCAA lax championship!!!
Great way to wrap up the weekend!
Now back to the count down 8 days left till school ends and summer begins!!!
Monday, May 28, 2012
Friday, May 25, 2012
Friday Finds...Recycled State!
Happy Friday Notebook readers!
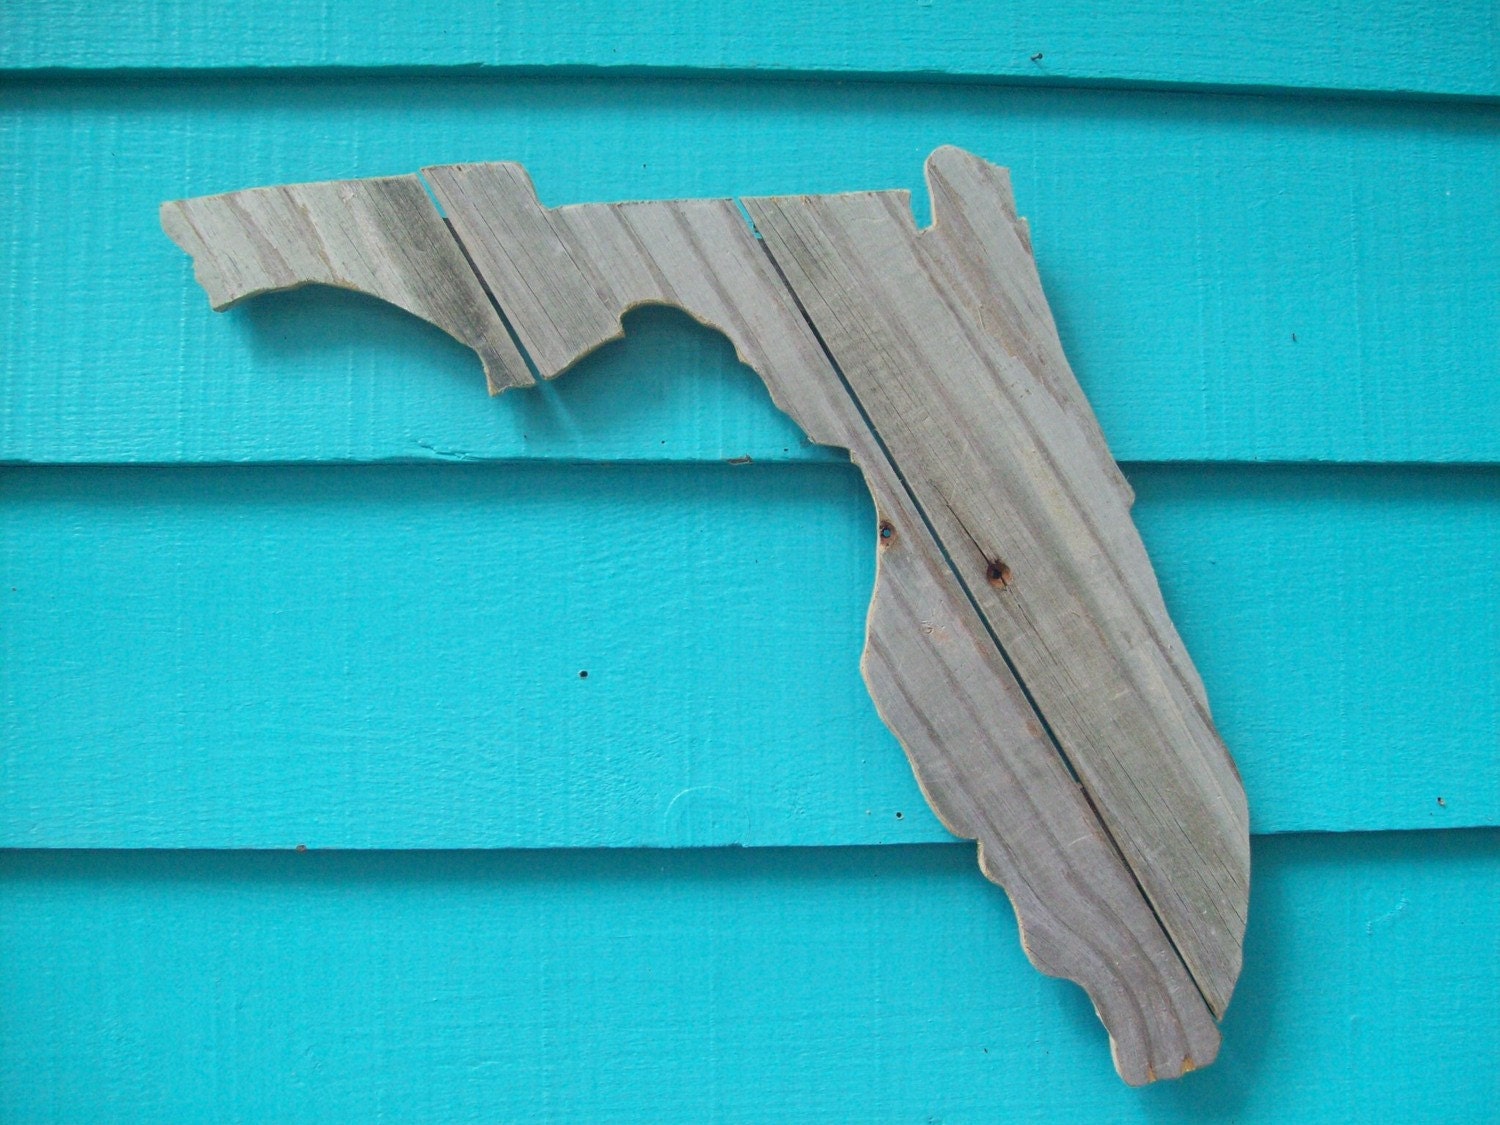
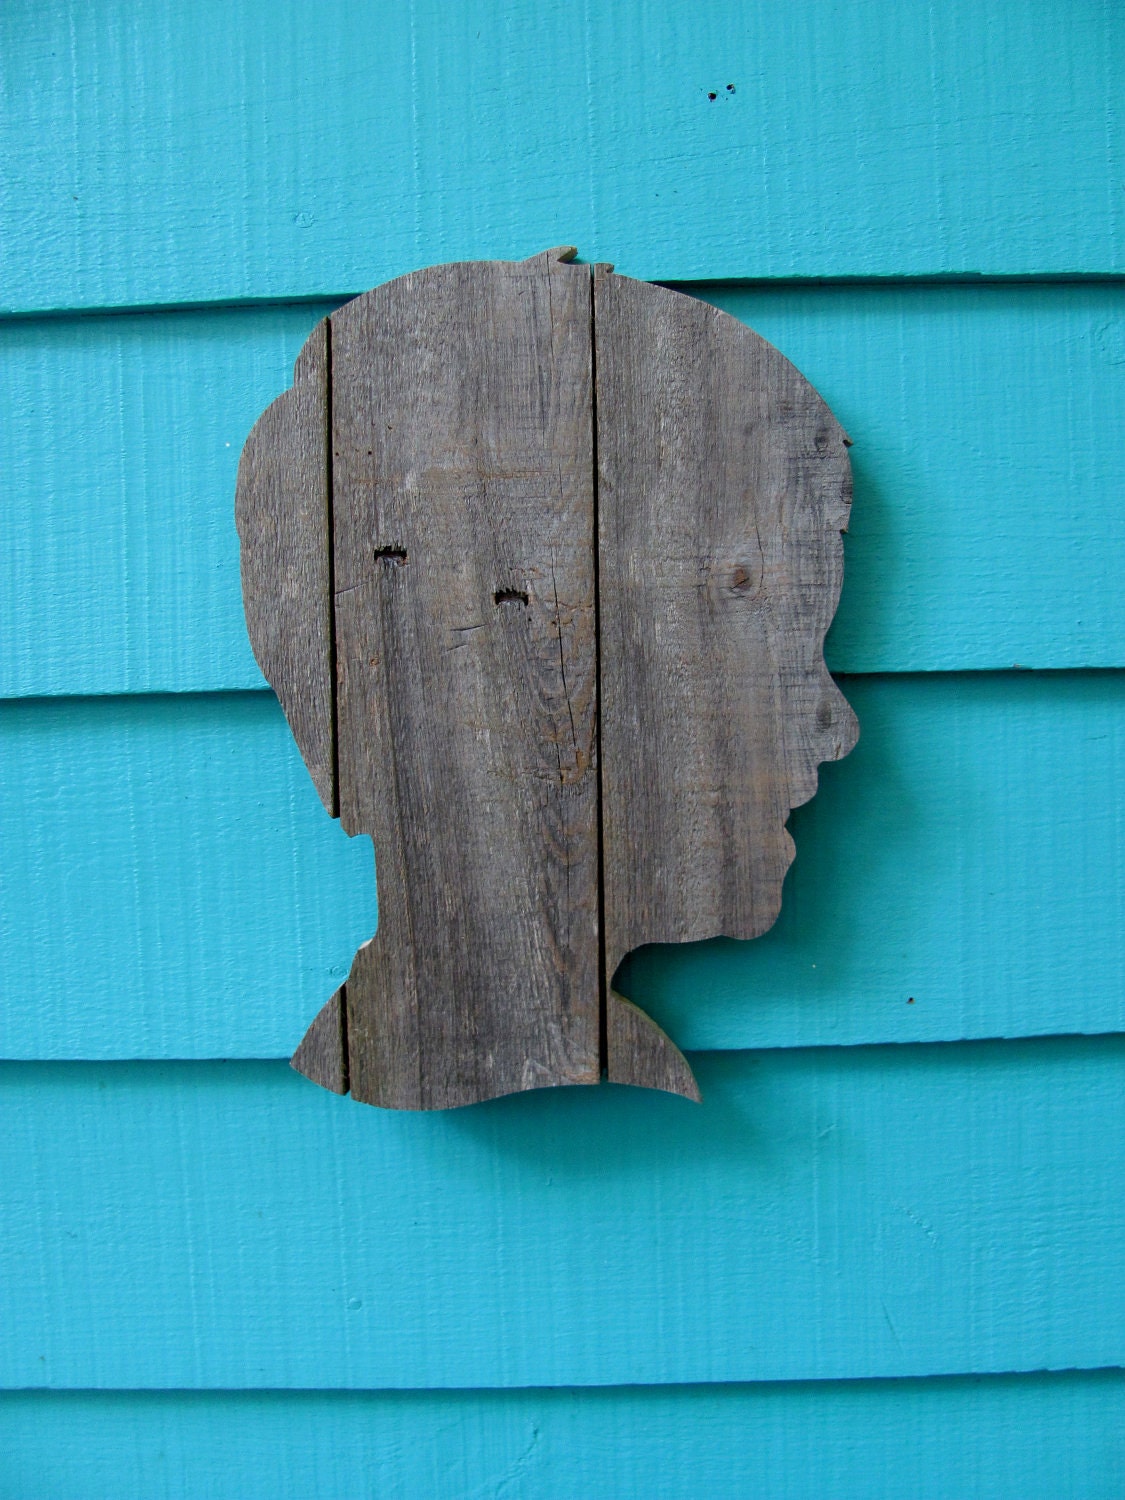
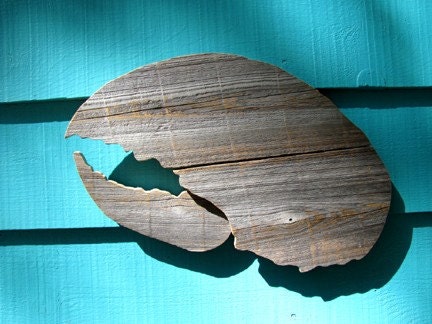
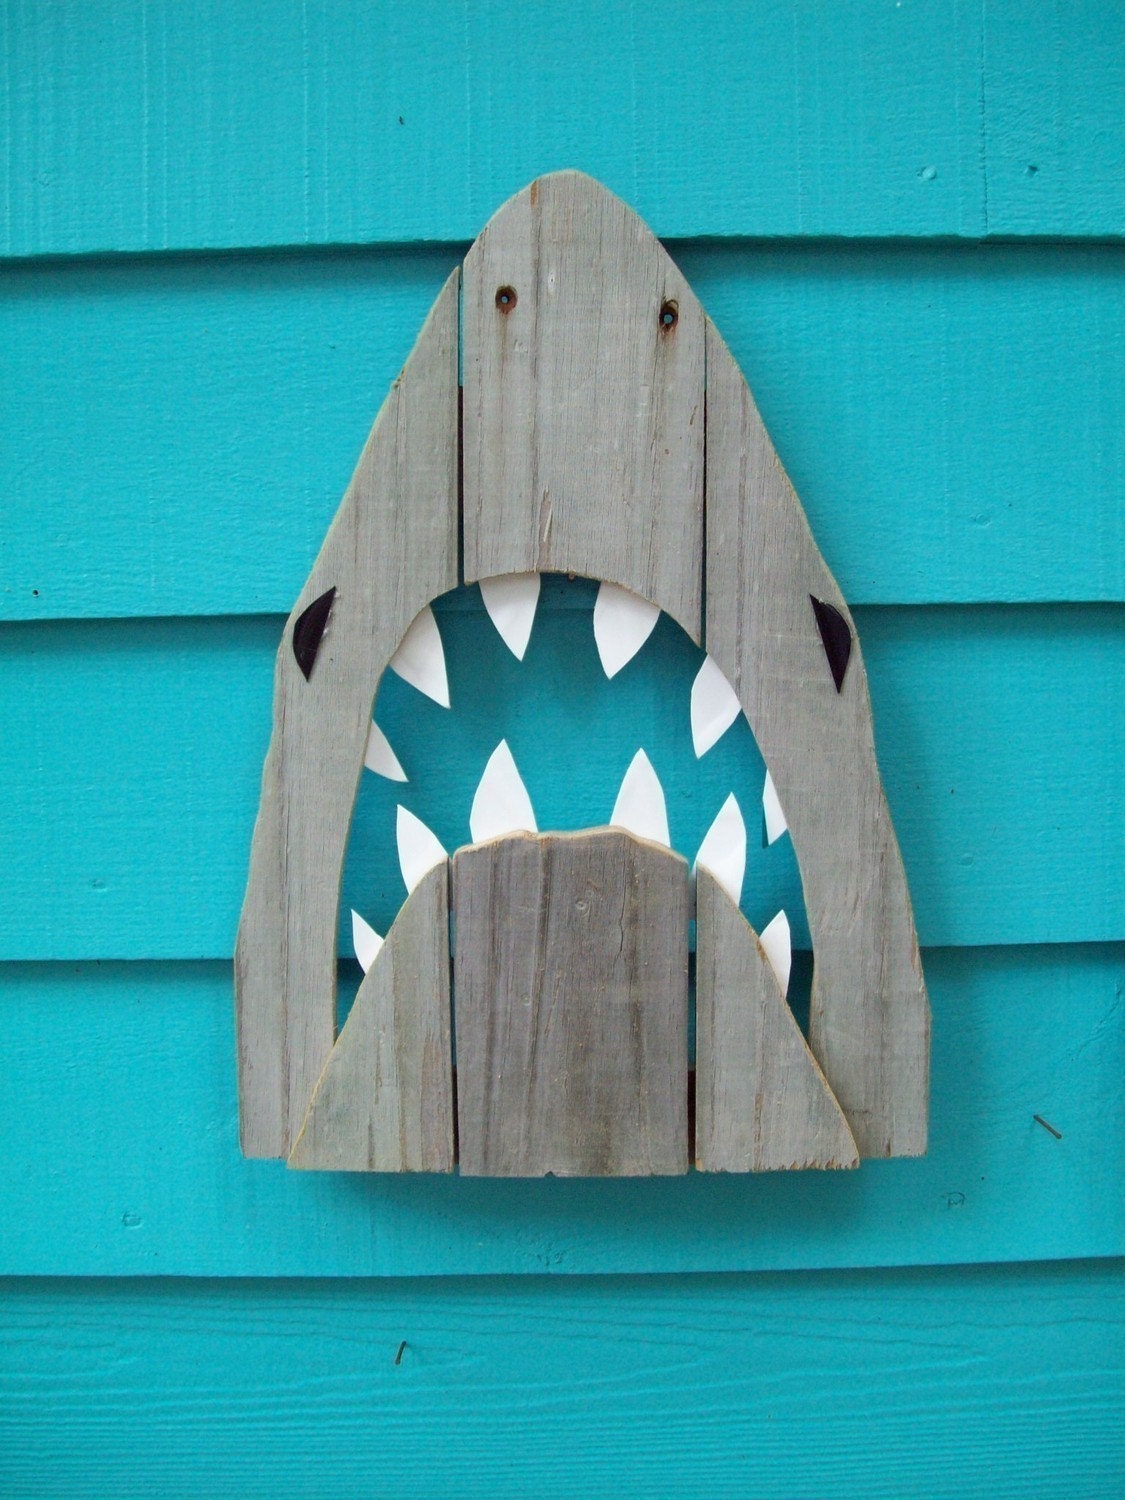
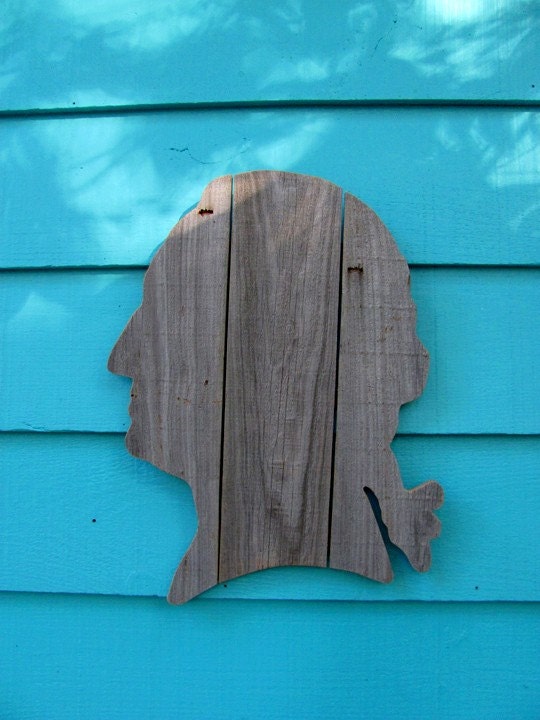
I'd like to welcome Recycled State! I recently purchased the cut out state of Maryland for a client...John does amazing work and can custom make your state...but check out his other pieces of art!
your state
custom silhouette
lobster claw
Shark attack
and...GW!
HAPPY FRIDAY!
ENJOY YOUR MEMORIAL DAY WEEKEND!
Thursday, May 24, 2012
DIY ALERT
I recently rehabbed my living room with pops of orange and was in need of some new throw pillows...I had some extra navy and orange chevron fabric so I made some easy pocket pillow covers for them because I did not have any zippers!
First I measured the current pillow size which was 18" X 18"
Then overlapped the end seams to create the pocket fold and sewed the sides
here is the before
and now the after!
As I have mentioned on The Notebook before the chevron is EVERYWHERE but I love this navy/orange combo...and by making them slip covers they can easily be switched out!
Happy Sewing!
Wednesday, May 23, 2012
Touch of Gold
I saw this gold lamp shade and fell in love...after searching for one similar I only found a couple and the closest is this one below which runs for $40. I say similar because the one in the photo is a gold toned metal shade and this one is clothe, but I love the piping!
Happy DIYing!
Tuesday, May 22, 2012
J.A new bedding
Jonathan Adler came out with some new navy and turquoise bedding! Love. What else does J.A have that I want...everything.
oh and this
queen anne mirror
and this
limited edition brass croc
Monday, May 21, 2012
Before to After
Here is the progession of pictures of my stripe nursery wall!
Love how it turned out!!!
Need an accent wall paint and you live in the DC metro area contact:
McNamara Design
More pictures to come once the furniture get in!
Friday, May 18, 2012
Frame + Foto of the Day!
The frame of the day is a bit over priced but I love the details, which will go great with my foto of the day. Here are my girlfriends popping through the vines that feed the cup...Meg, Holly, Erin, and Lara all celebrating the wedding of our friend Michelle! Love this picture just as much as I love these girls!!!
Friday Finds...Sarah M. Dorsey Designs!!!
Happy Friday Notebook readers! I'd like to welcome Sarah from Sarah M. Dorsey Designs! She has make an amazing DIY headboard that you all need to check out!!! Can't wait to try this one!
Hi! I am Sarah and I blog at Sarah M. Dorsey Designs- where I focus on creative design solutions that won't blow your budget!
I love the look of a tufted and winged headboard but at $500.00 and up I decided to make my own version for a lot less $$.
After developing a plan -
My husband David and I gathered supplies -
- 62 1/2" x 48 1/2" plywood (1/2")
- 1 x 4s, (for back supports)
- 1 x 6s and 2 x 6s (for side arms)
- 4 yards of fabric (what I used is no longer available, but this is similar)
- 28 buttons to be covered
- 62 1/2" x 48 1/2" foam (1")
- Batting to cover front and arms
- Nailhead trim (about 500)
and got to work!
The plywood was cut to size, holes drilled for tufting, 1x4s were cut and screwed into place to build a support around the entire back
Next, 1" foam was attached with spray adhesive to avoid it slipping while tufting
Batting was attached with staple gun and excess was cut off
I purchased a button kit at Joann Fabrics. Because I wasn't buying upholstery buttons, I applied a small amount of glue on the interior of the buttons to prevent them popping off later
Headboard was flipped over (we used two dining chairs for support) fabric was placed on top - and we began tufting with a long needle and heavy duty thread - starting in the center and working our way out - pulling the fabric tight as we went
I threaded the needle through the hole and pushed the button down -
While David secured the button from below
Then the fabric was stapled on the back - the batting and fabric for the arms were cut and placed between the headboard the arm - the arms were then attached with screws - the remaining fabric was pulled tight and stapled on the back
After the fabric was secured and excess was trimmed off - I began applying the nailhead trim - two rows per arm, floor to top of headboard took about 500 nails
And there you go! We worked on and off for about 2 days and total cost was just under $150
I love how headboards can really transform a space - and for a weekend project that's under $150 - its definitely worth trying!
Feel free to stop by my blog and say hi sometime, I'd love to hear from you!