Wednesday, February 29, 2012

Rehab

Here is a piece that is almost completed...it was meant to be a dining server but I am converting into a entertainment center for a client. The drawers were removed so cable boxes will be stored on the shelves instead. I will be putting the drawer faces on hinges to allow for access to the boxes. Loving how the piece looks so far...a touch up coat of paint and this is ready for the man cave! 


Next up custom valances with a hot monogram inspired by the image below!


We are thinking one large T for the clients last name using a blue fabric

Waverly Modern Essentials Glamour Marine 

with white trim

DIY valance tips to come!

Tuesday, February 28, 2012

Take a Seat

Here is the window seat cushion I completed for a client. Not to difficult...the 100 inch sleeping bag zipper I had to use was the biggest zipper I've ever used but it worked perfectly!


First trace the space where you want to create a seat cushion. As you can see I used some butcher paper for my template. Then I pinned it down to the foam and cut the foam to size.


I then laid out the zipper to make sure it was going to fit or see if it needed to be cut down


cut your fabric to size


sew and stuff


ready for delivery!!!


Monday, February 27, 2012

Corner Seat on the Cheap!

I am currently working on a built in window seat for a client that consists of a custom seat cushion and throw pillows. I saw this corner seat and love their idea. This is two expedit IKEA book shelves turned on their side with two top cushions. Such a great use of IKEA furniture to create storage and seating in any room!


Pinned Image

Friday, February 24, 2012

Friday Finds Pinterest!

Happy Friday Notebook readers!

I just signed up for Pinterest and its addicting as many of you know! So head over and check out my pins...you can find me under McNamara Design and if you find me pin it baby! Also head over to facebook and like McNamara Design or start following me here on The Notebook!


Thursday, February 23, 2012

Frame + Foto of the Day!

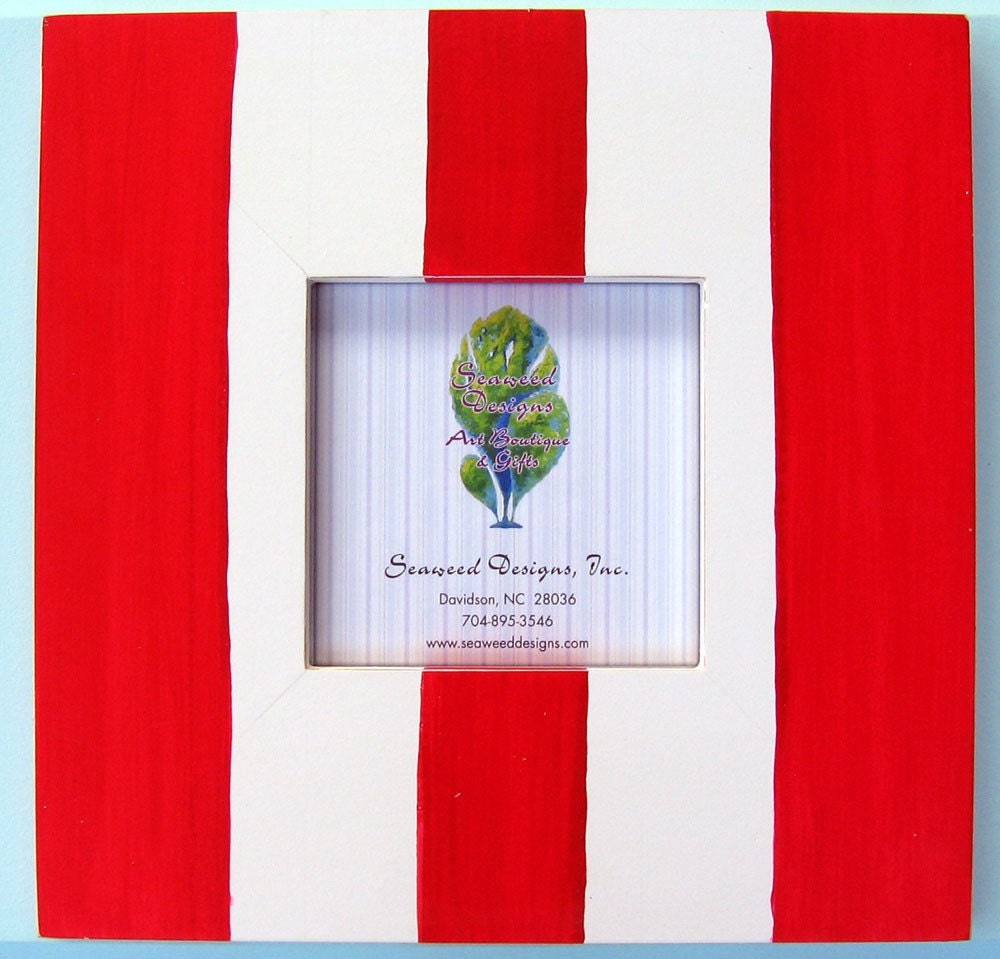
FREE SHIPPING 12x12 Cottage Striped Picture Frame - Red over White Shabby Beach Wedding Nursery Decor Distressed


Today's frame of the day is off Etsy and I love the bold stripes! This frame would be very simple DIY project too! Just a plain wooden frame some red and white acrylic paint and a brush! I like the free style lines too! The foto of the day is of another one of my four legged friends, Bode, belonging to bestie Emily and her fiance Derek. Here she is chillin in the car with her Auntie Therese ready for the ride of her life!


Next stop Subway Tiles

Subway tiles have become very popular for your kitchen and bathroom. I love the look and there are many ways to take the traditional subway tile and make it funky, modern, and your speed!

The apartment I'm currently working will soon have a subway tile backsplash in the kitchen...we are currently looking at blue tiles with a white longer subway tile running through as a bold accent. Here are some inspirations...


we are looking for more of a solid navy tile like this one


more pics to come once the backsplash is complete!


Wednesday, February 22, 2012

AMAZING DIY!

Saw this on Pinterest and love this idea. So simple. So easy. And requires you or your handy man to get it done!

HEART this DIY!

Pinned Image

Tuesday, February 21, 2012

Pop a Bottle!

One of my girlfriends made this cork wreath and it turned out great! Made me think what else could you make? Well check it out below...endless opportunities to take your drinking and turn into a functional or decorative moment in your home!


Friday, February 17, 2012

Touch of Black

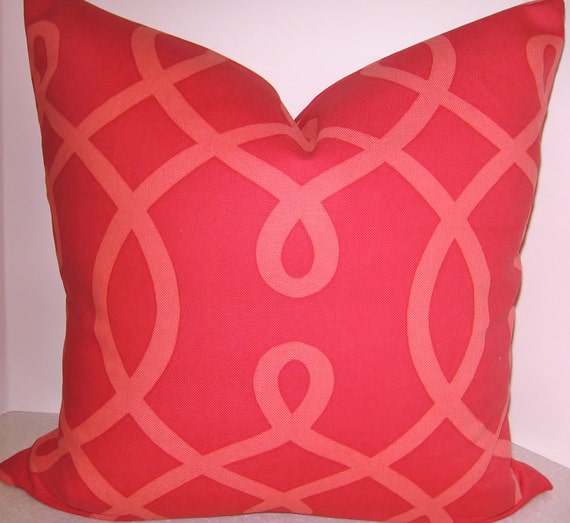
I made these pillows for a client last night and they will be paired with a euro size Schumacher Chiang Mai Dragon throw pillow and this cherry red Duralee print!


BOTH SIDES 20 X 20 Duralee Cherry Red Geometric pillow cover
 
I found this coral fabric at the Duralee outlet over Thanksgiving and I am happy to find a home for it! I made these coral pillows with black zippers to give it a punch and I love how they turned out!!!


here is the swatch of fabric I am making the other two throw pillows with!


more pictures to come...


HAPPY FRIDAY!!!

Thursday, February 16, 2012

Frame + Foto of the Day!

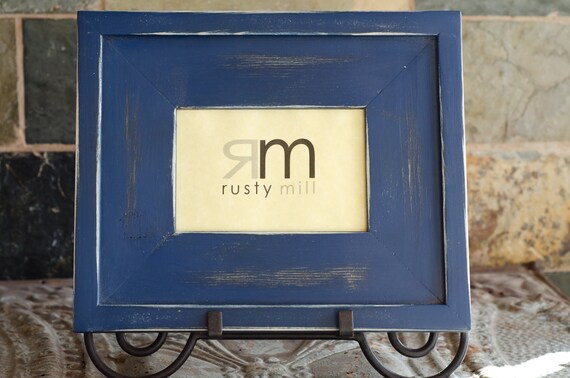
Wide Picture Frame -  3" Wide Chunky Frame- 4x6 STACKED Pine Distressed Frame - Photo Frame -  Royal Blue ...HANDMADE by moms


The frame of the day is going to go perfectly with my foto of the day! This is Tank Donohue, my best friend Claire and her husband Dan's new dog! I can't wait to meet him next weekend!!! Eat him up!

A place to Rest your Head!

Here is the tufted headboard I have been working on for a client! It took a total of 4 hours but was well worth the end product and can't wait to install it!


First cut a piece of plywood to the shape you like! Then measure out the point where you want the headboard tufted. After measuring the places where you want the headboard tufted use a 1/8th drill bit and drill each marked area out

Here are a couple shapes below for inspiration


Then screw in the legs for your headboard...remember to measure the height of your mattress first then cut to size


Next spray adhesive the foam onto the plywood...using a skewer poke the back of the headboard through and mark your tufted spots using a sharpie


then use an exacto knife to cut out the foam through to the plywood...this will make it easier for you to thread through


next place the batting loosely over the foam using a staple gun to secure


To cover the buttons cut out a circular shape of the same fabric being used on the headboard


I purchased this inexpensive tool kit from the same company I bought the button covers from...saves a lot of time for a very little money!


this tool allows for you to cover the buttons easily


Then cover the headboard with fabric centered to the plywood...I placed four staple guns around the frame of the plywood so the fabric won't shift while tufting...then using a long needle thread through the the back plywood through the foam, then the fabric...add the button to the tread then feed back through


using a staple gun and a hammer create a W shape to hold the heavy thread in back


I started in the center of the headboard and worked outward leaving the access fabric to be pulled taunt


this is an image of the finished product sans a good steam!!! the fabric is actually a dark navy but the florescent lighting does not show that...thanks to my Mom for helping me with the details throughout this project and for letting me use her workspace!!!

Let me know if you try this project! It was fun and will spruce up your bedroom on an inexpensive budget!

HAPPY DIY!!! 

Tuesday, February 14, 2012

Happy Valentine's Day!


love love love this image! taken by a friend Luke Pearsall Photography I just look at it and it makes me happy! 

I'm not one to celebrate Valentine's Day...boy and I will have a homemade meal tonight cooked up by him and that's about it! Homemade meal for a homemade heart card I made boy last night and left it in his car this morning!

Happy V-Day People!